The Mac Pro - a year in the studio

An Award-winning Collaboration

Houdini: A Behind the Scenes Talk

COVID working
USING THE NEW MAC PRO AND PRO DISPLAY XDR

BEST PROMOTIONAL TRAILER AT PROMAX GAMES 2019

Lunar Partners with Immotion to create VR
250 MILLION VIEWS!!!

Lunar Animation teams up with Alkemy X

Lunar Animation wins Award

Happy Back to the Future day...
EIFF 2015 - Animation Lab

Route 66 Immersive Experience

WAR... Join the Resistance

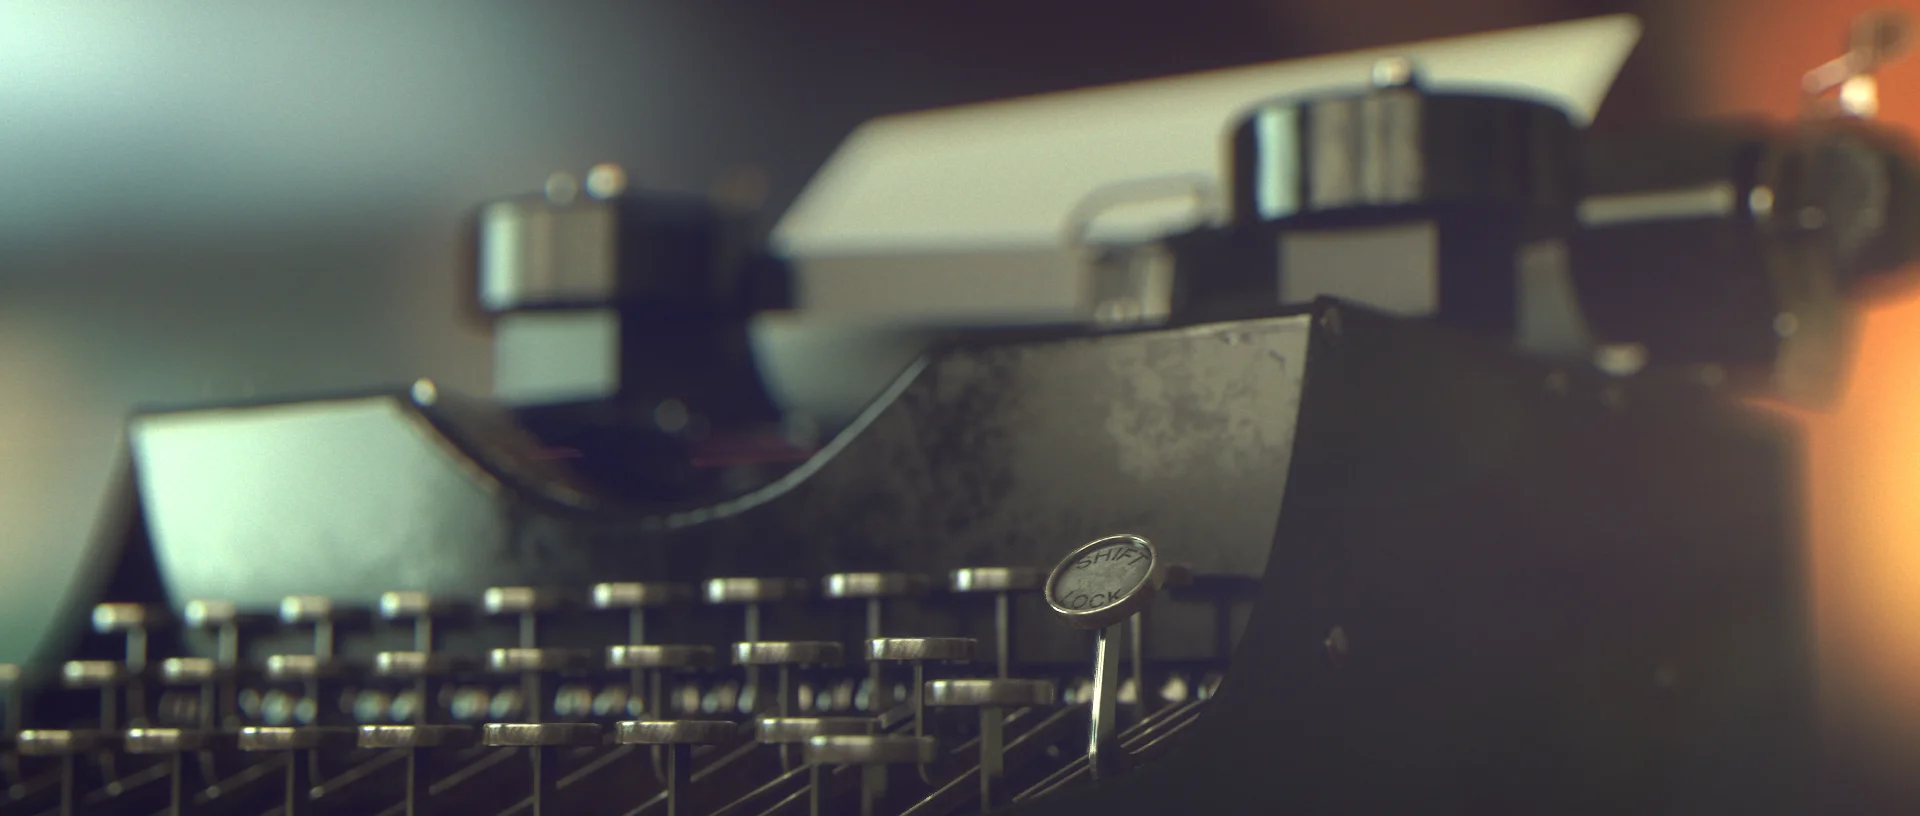
Typewriter Experiment
Testing the Lunar pipeline

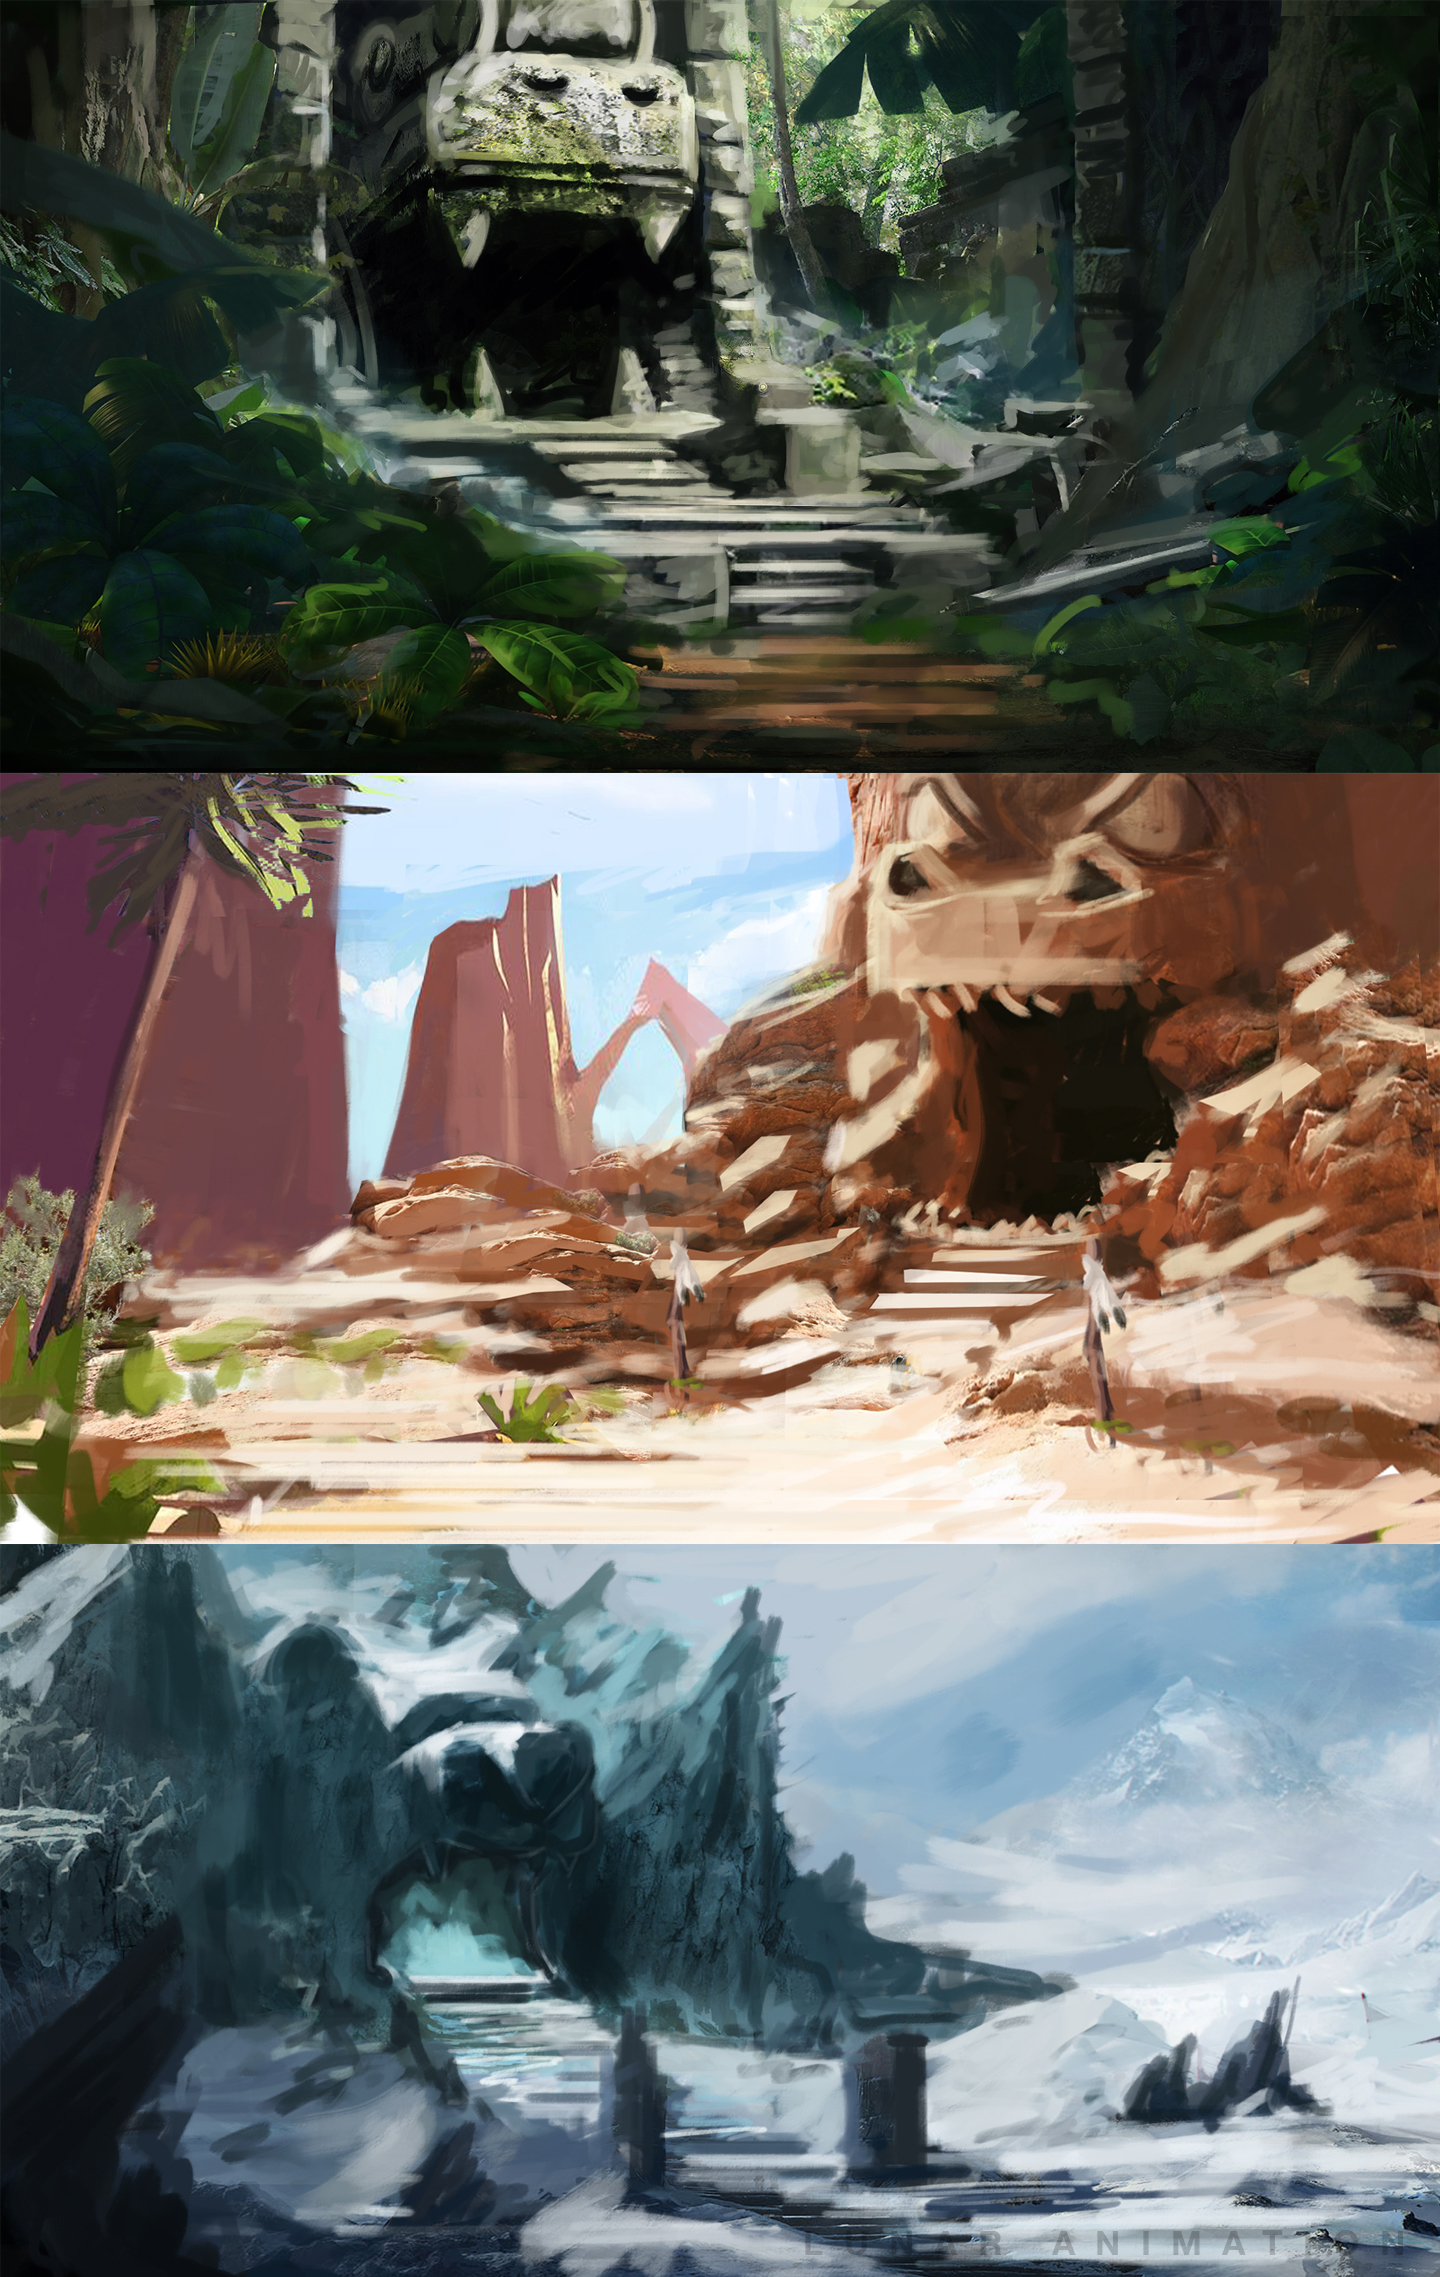
Concepts for all themes
Here at Lunar Animation we're always creating concept art for projects, current films, pitches and for our own internal use. We thought we'd share some of that with you to give you an insight into some of our pre-production.


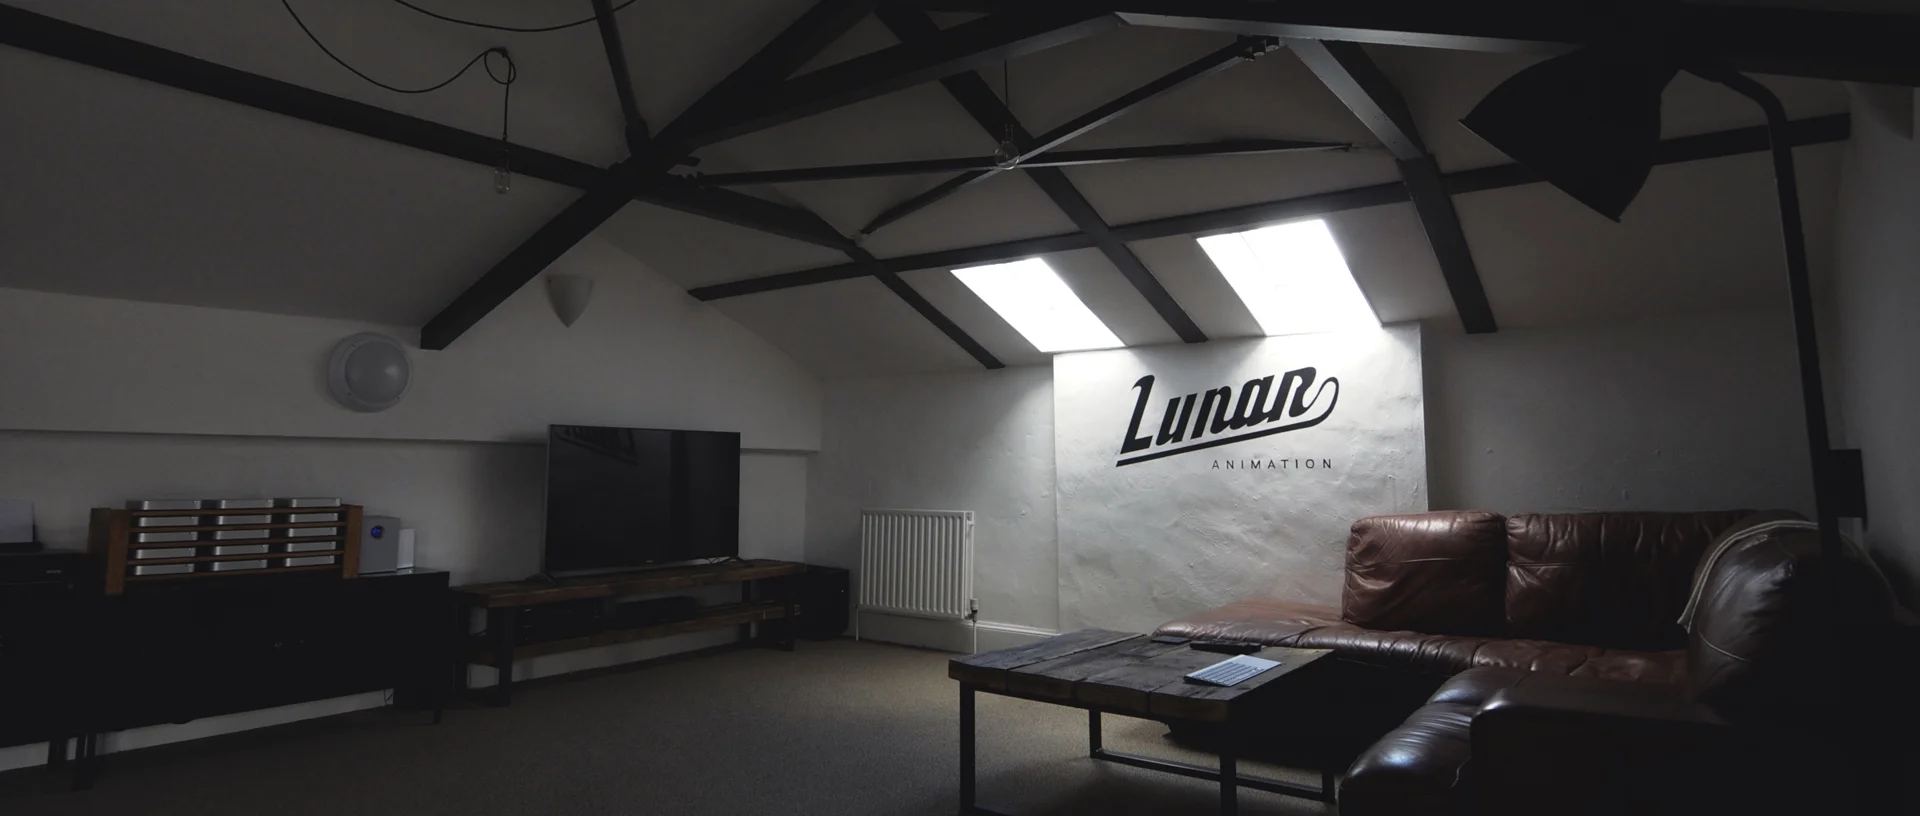
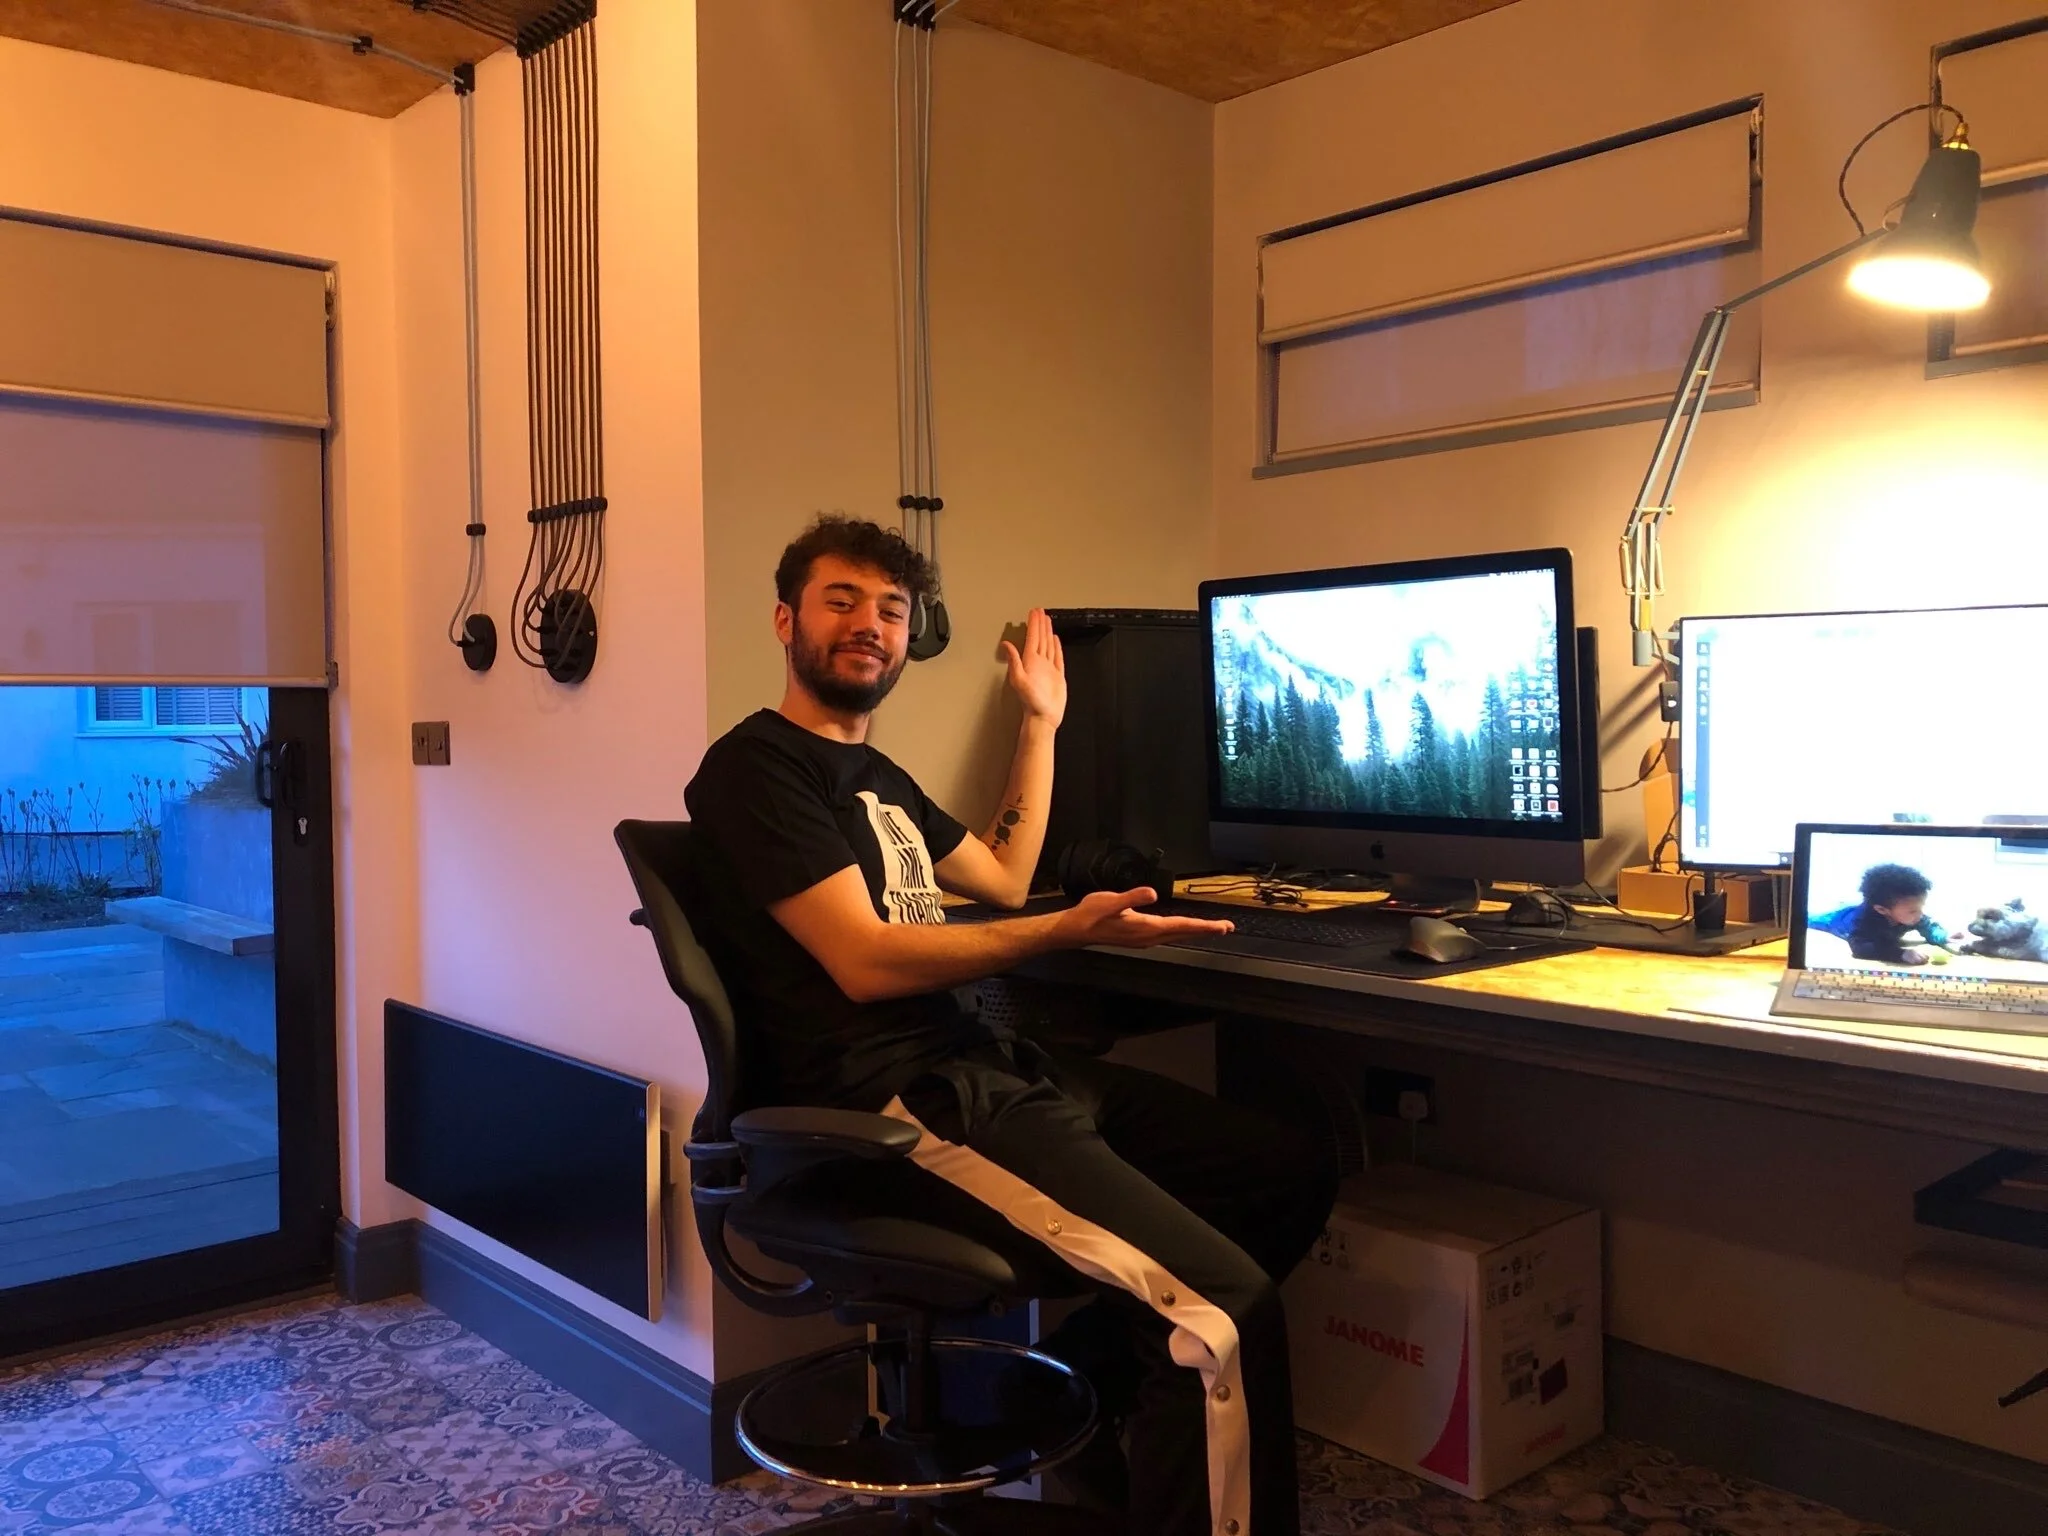
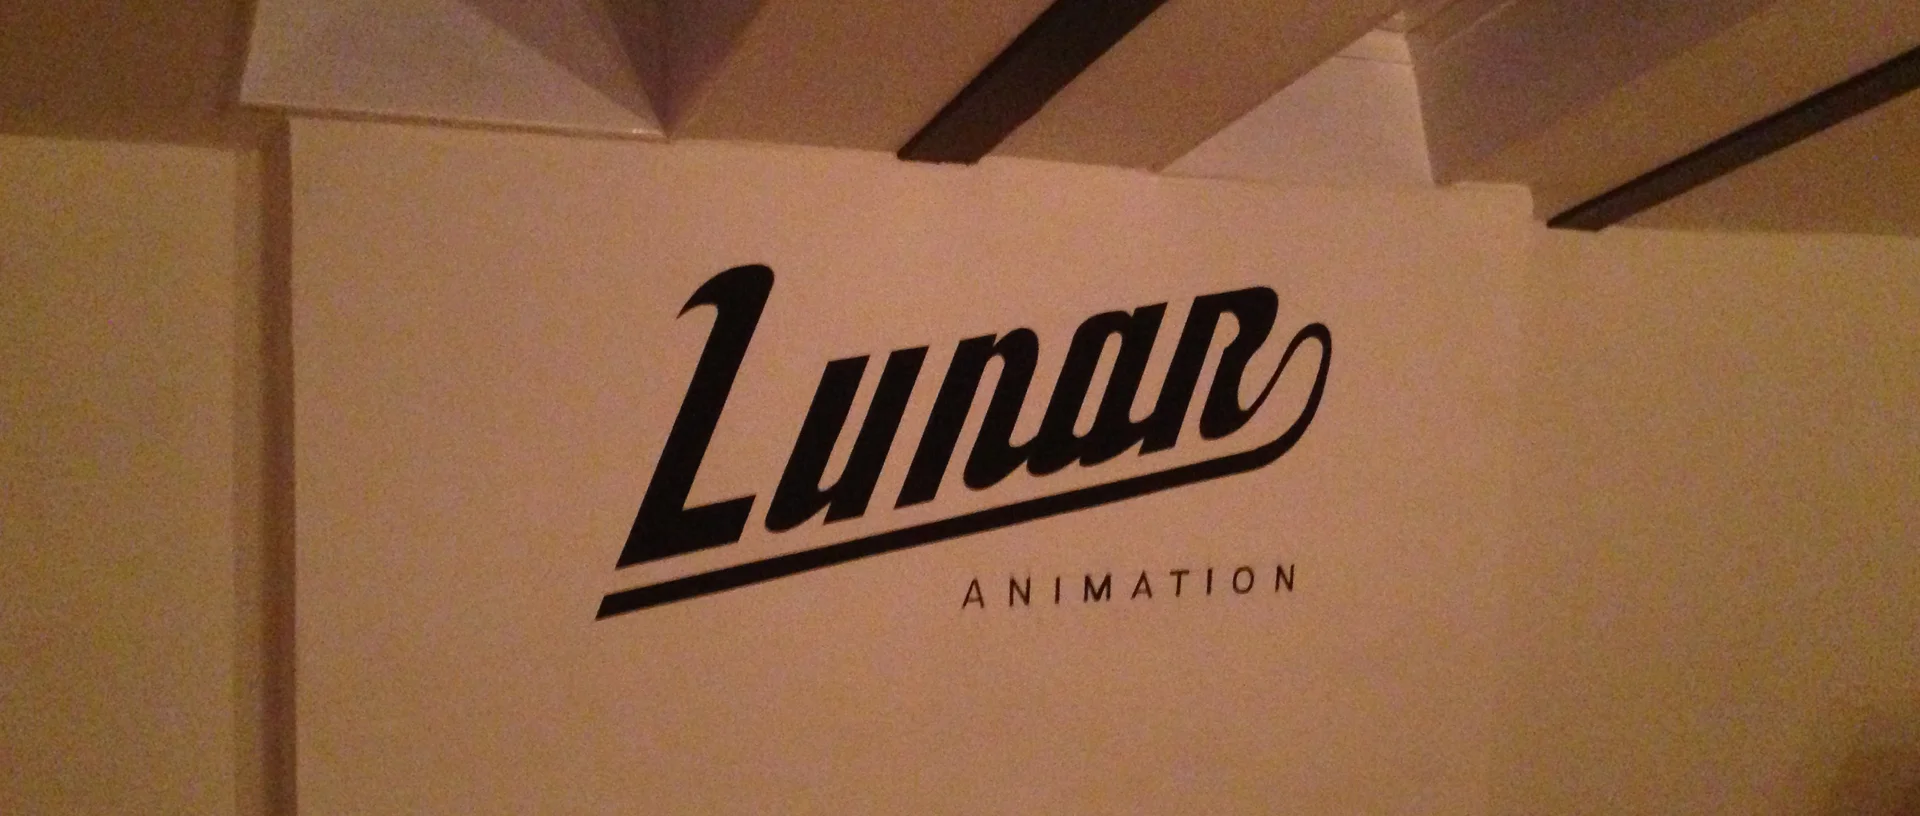
Welcome to our new Office
It's taken some time but we've finally moved into our new office and we've been busy bringing it up to the Lunar standards. With some creative paint work and a touch of elbow grease the place is starting to look nothing short of perfect.
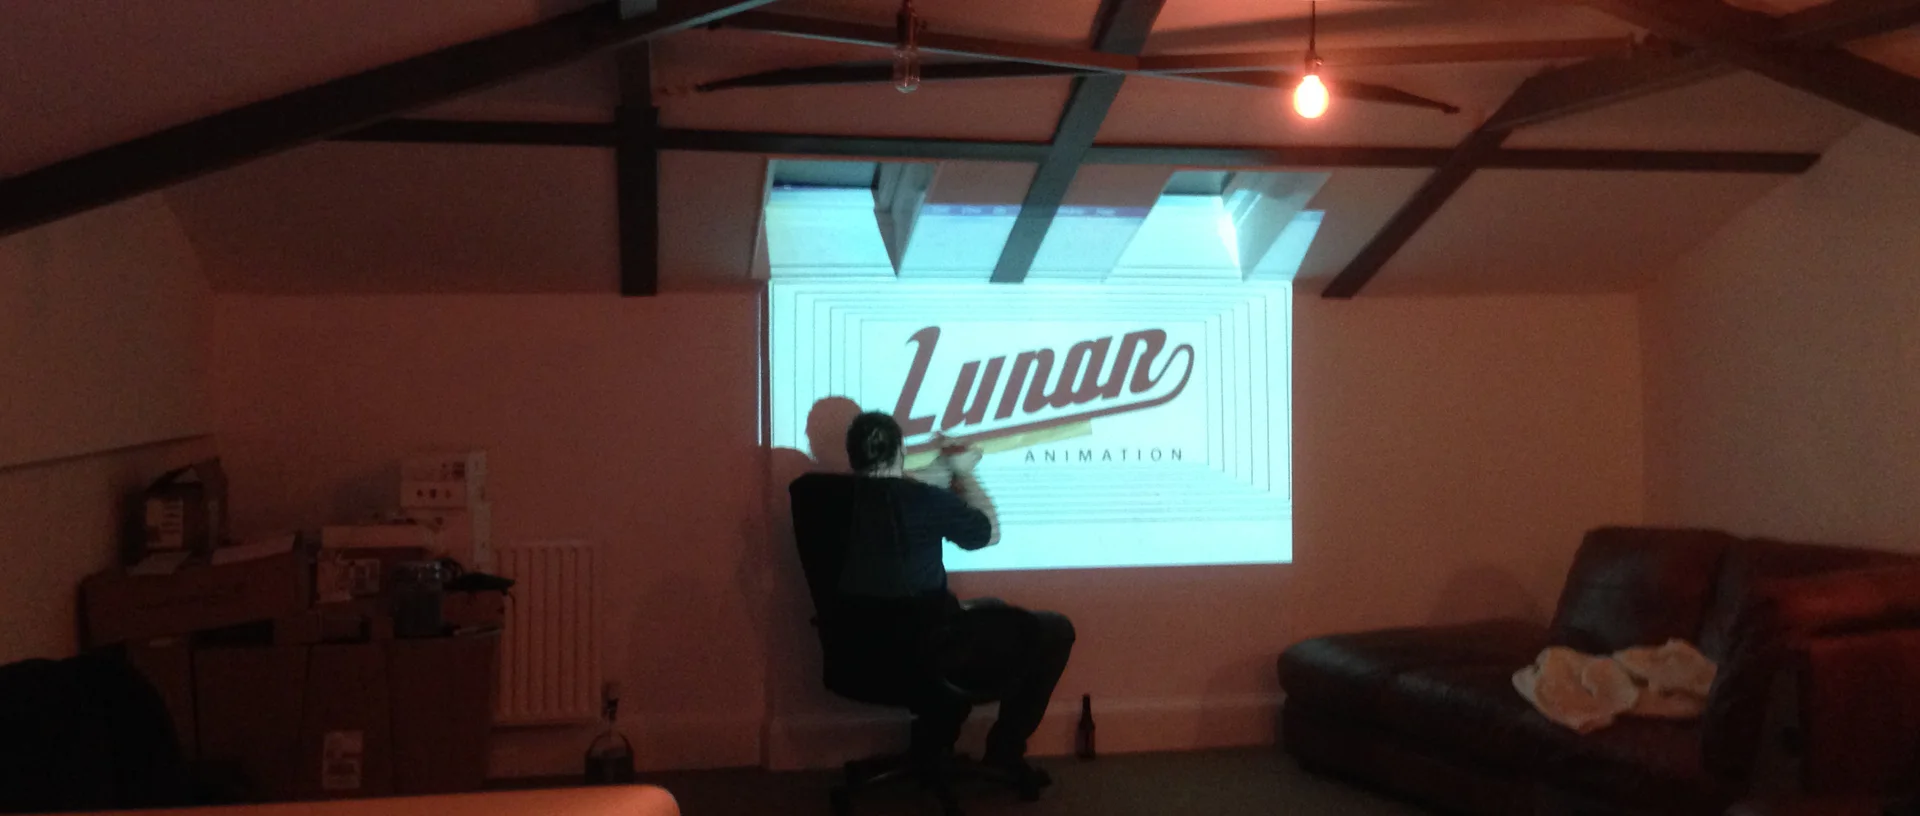
One of the most eye catching elements of the new office that always gets comments from our clients is the painted sign. So we've put together a step by step guide on how to create your own with a few snaps to let you see how we created this wall art.
Step 1.
Use a projector to display your logo on the wall exactly as you want it to look. Make sure you check your aspect ratios are right and you might want to create some guides so you can check all the spacing around the logo. Once in place use a pencil and a ruler to draw around all the edges of the design:
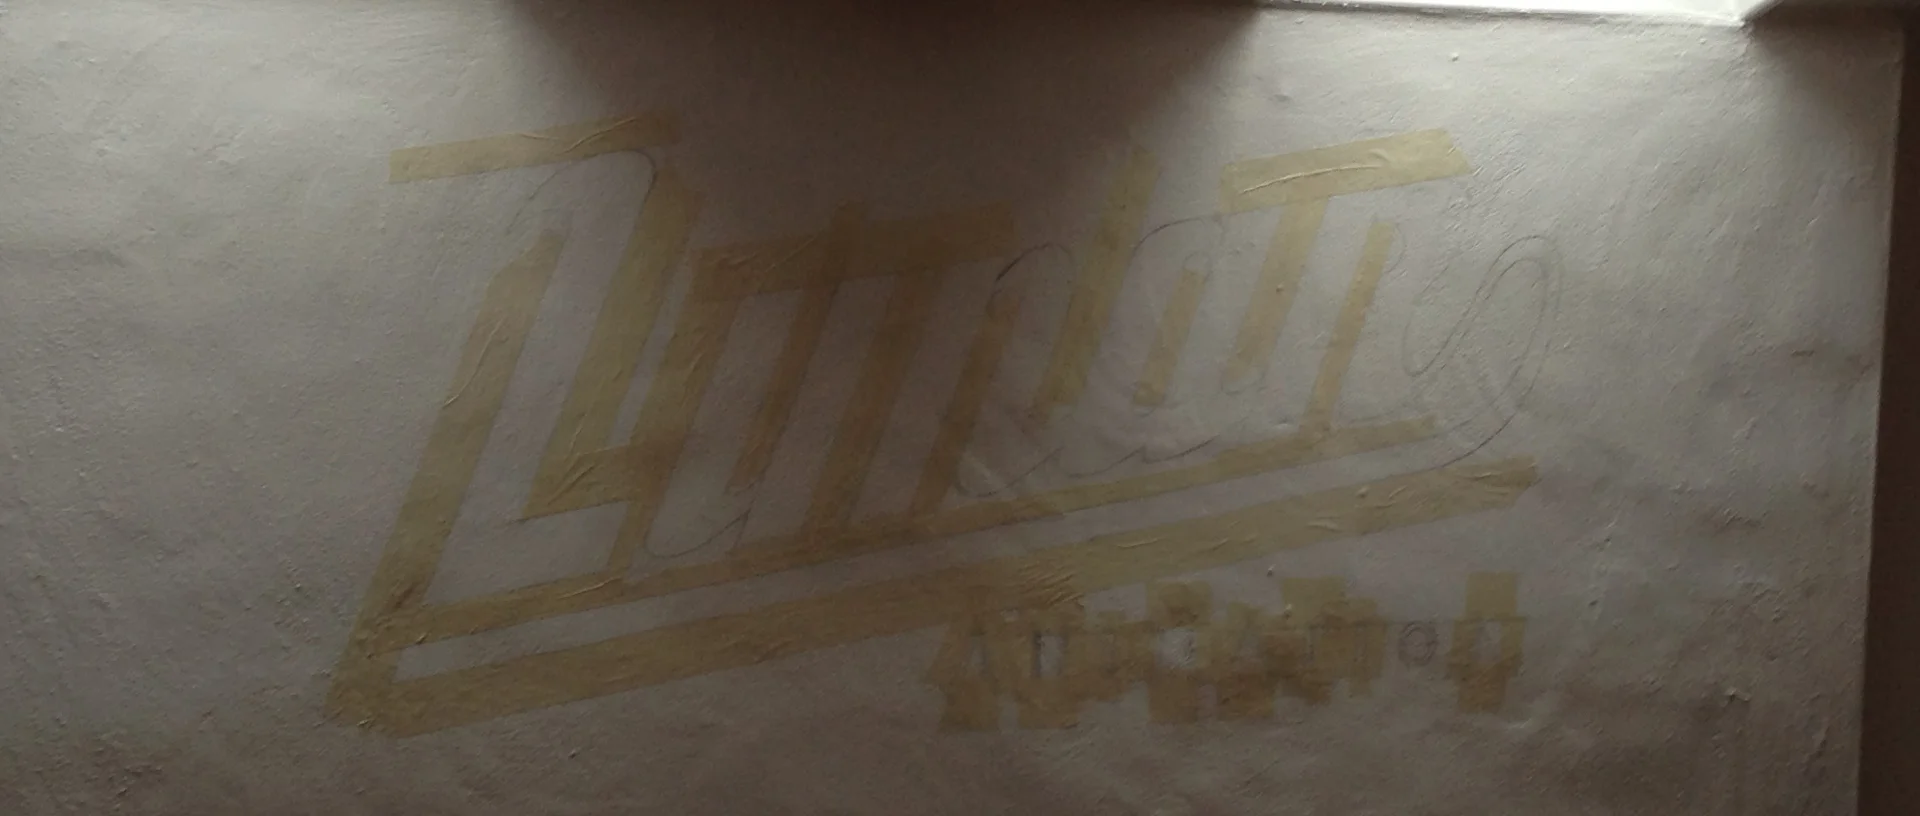
Step 2.
Once you've painstakingly pursued all of the designs edges, it's time to pair up with the masking tape (don't use other kinds of tape as you may risk pulling the paint off the wall when you remove the making tape later). It's also worth making sure the tape is thick, as thin masking tape may let paint through. All you need to do now is line all of the designs edges with the tape so that you can paint perfectly straight edges with ease. See below you may want to leave curved edges and use a fine brush to complete those by hand:
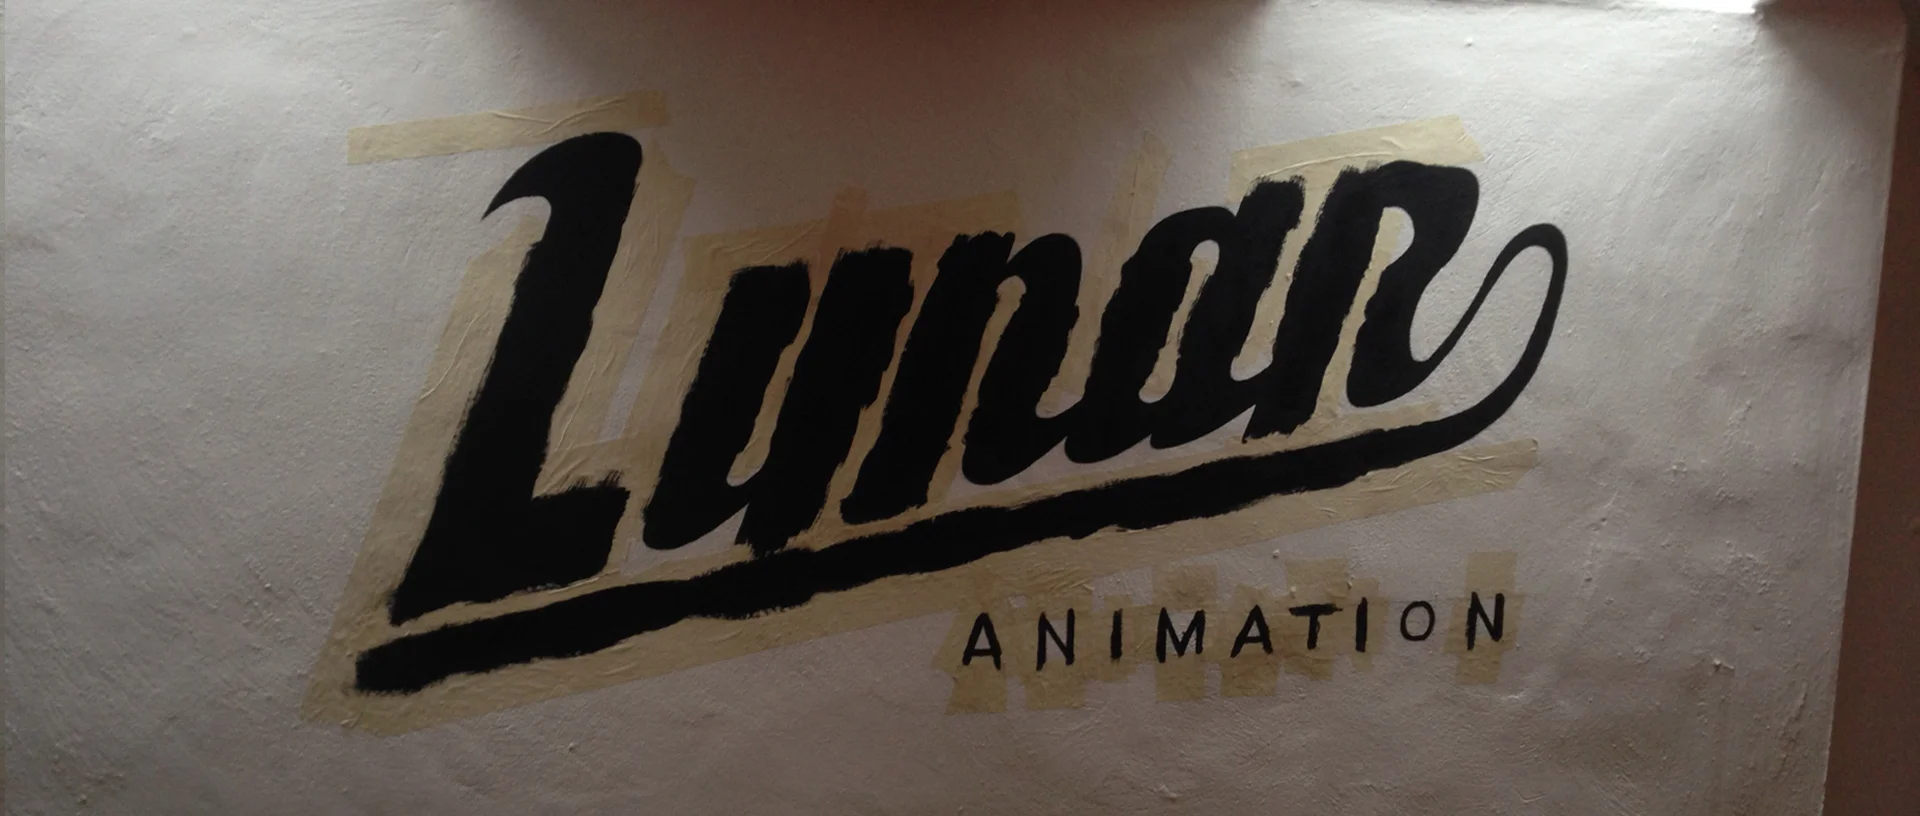
STEP 3.
Now it's time for the fun bit, painting. There's obviously no need to mention being careful if you're painting with black on a white wall. Lay the paint on nice and thick - it might look messy at the moment but that's part of the process. Ensure you paint well onto the masking tape and don't just do the one coat, do at least two or three, especially if you're using matt black paint like we were (you don't see the imperfections until it's dry). As for those curved sections by hand; we used a small very thin paint brush and took our time to make it look perfect:
STEP 4.
Make sure you remove the masking tape before the final coat of paint is completely dry. Once removed all of the sharp edges should be perfectly preserved:
STEP 5.
Fill your office with loads of other stuff: