We recently had the pleasure of getting to know the new Mac Pro and Pro Display XDR over the last few months. We’ve had the opportunity to use it on a number of professional projects within the realms of computer animation.
OUR BACKGROUND USING THE MAC
Since we started the animation studio back in 2014, our entire pipeline has been based around the Mac. However, in recent years it’s been more challenging than we would have liked. With fewer and fewer hardware updates and the release of the trash can Mac Pro that seemed limited, things were certainly looking grim. We had many conversations about how we might eventually have to move over to use PCs. Fortunately in 2017, Apple announced the iMac Pro, which has been our main studio production machine for all artists. Now the new Mac Pro is here and we’ve been really excited to see how it’s going to evolve our studio.


OUR STANDARD STUDIO WORKSTATION SPEC
For reference in this article, the standard iMac Pro workstations our artists use are the following:
SOFTWARE WE USE
As we specialise in computer animation, which is one of the most intensive things you can use a computer for, I thought I’d take the opportunity to list some of the software we use, which will give you a sense of the ways in which we’ve been testing the new machine. These are all industry standard pieces of software used to create most TV and feature films.
MAYA - 3D MODELLING AND ANIMATION
V-RAY - RENDERING ENGINE FOR MAYA
HOUDINI - SIMULATION AND EFFECTS
NUKE - COMPOSITING
DIVINCHI RESOLVE - EDITING
PHOTOSHOP - IMAGE EDITING
SUBSTANCE PAINTER - SHADING AND TEXTURING
What ARE OUR FIRST IMPRESSIONS?
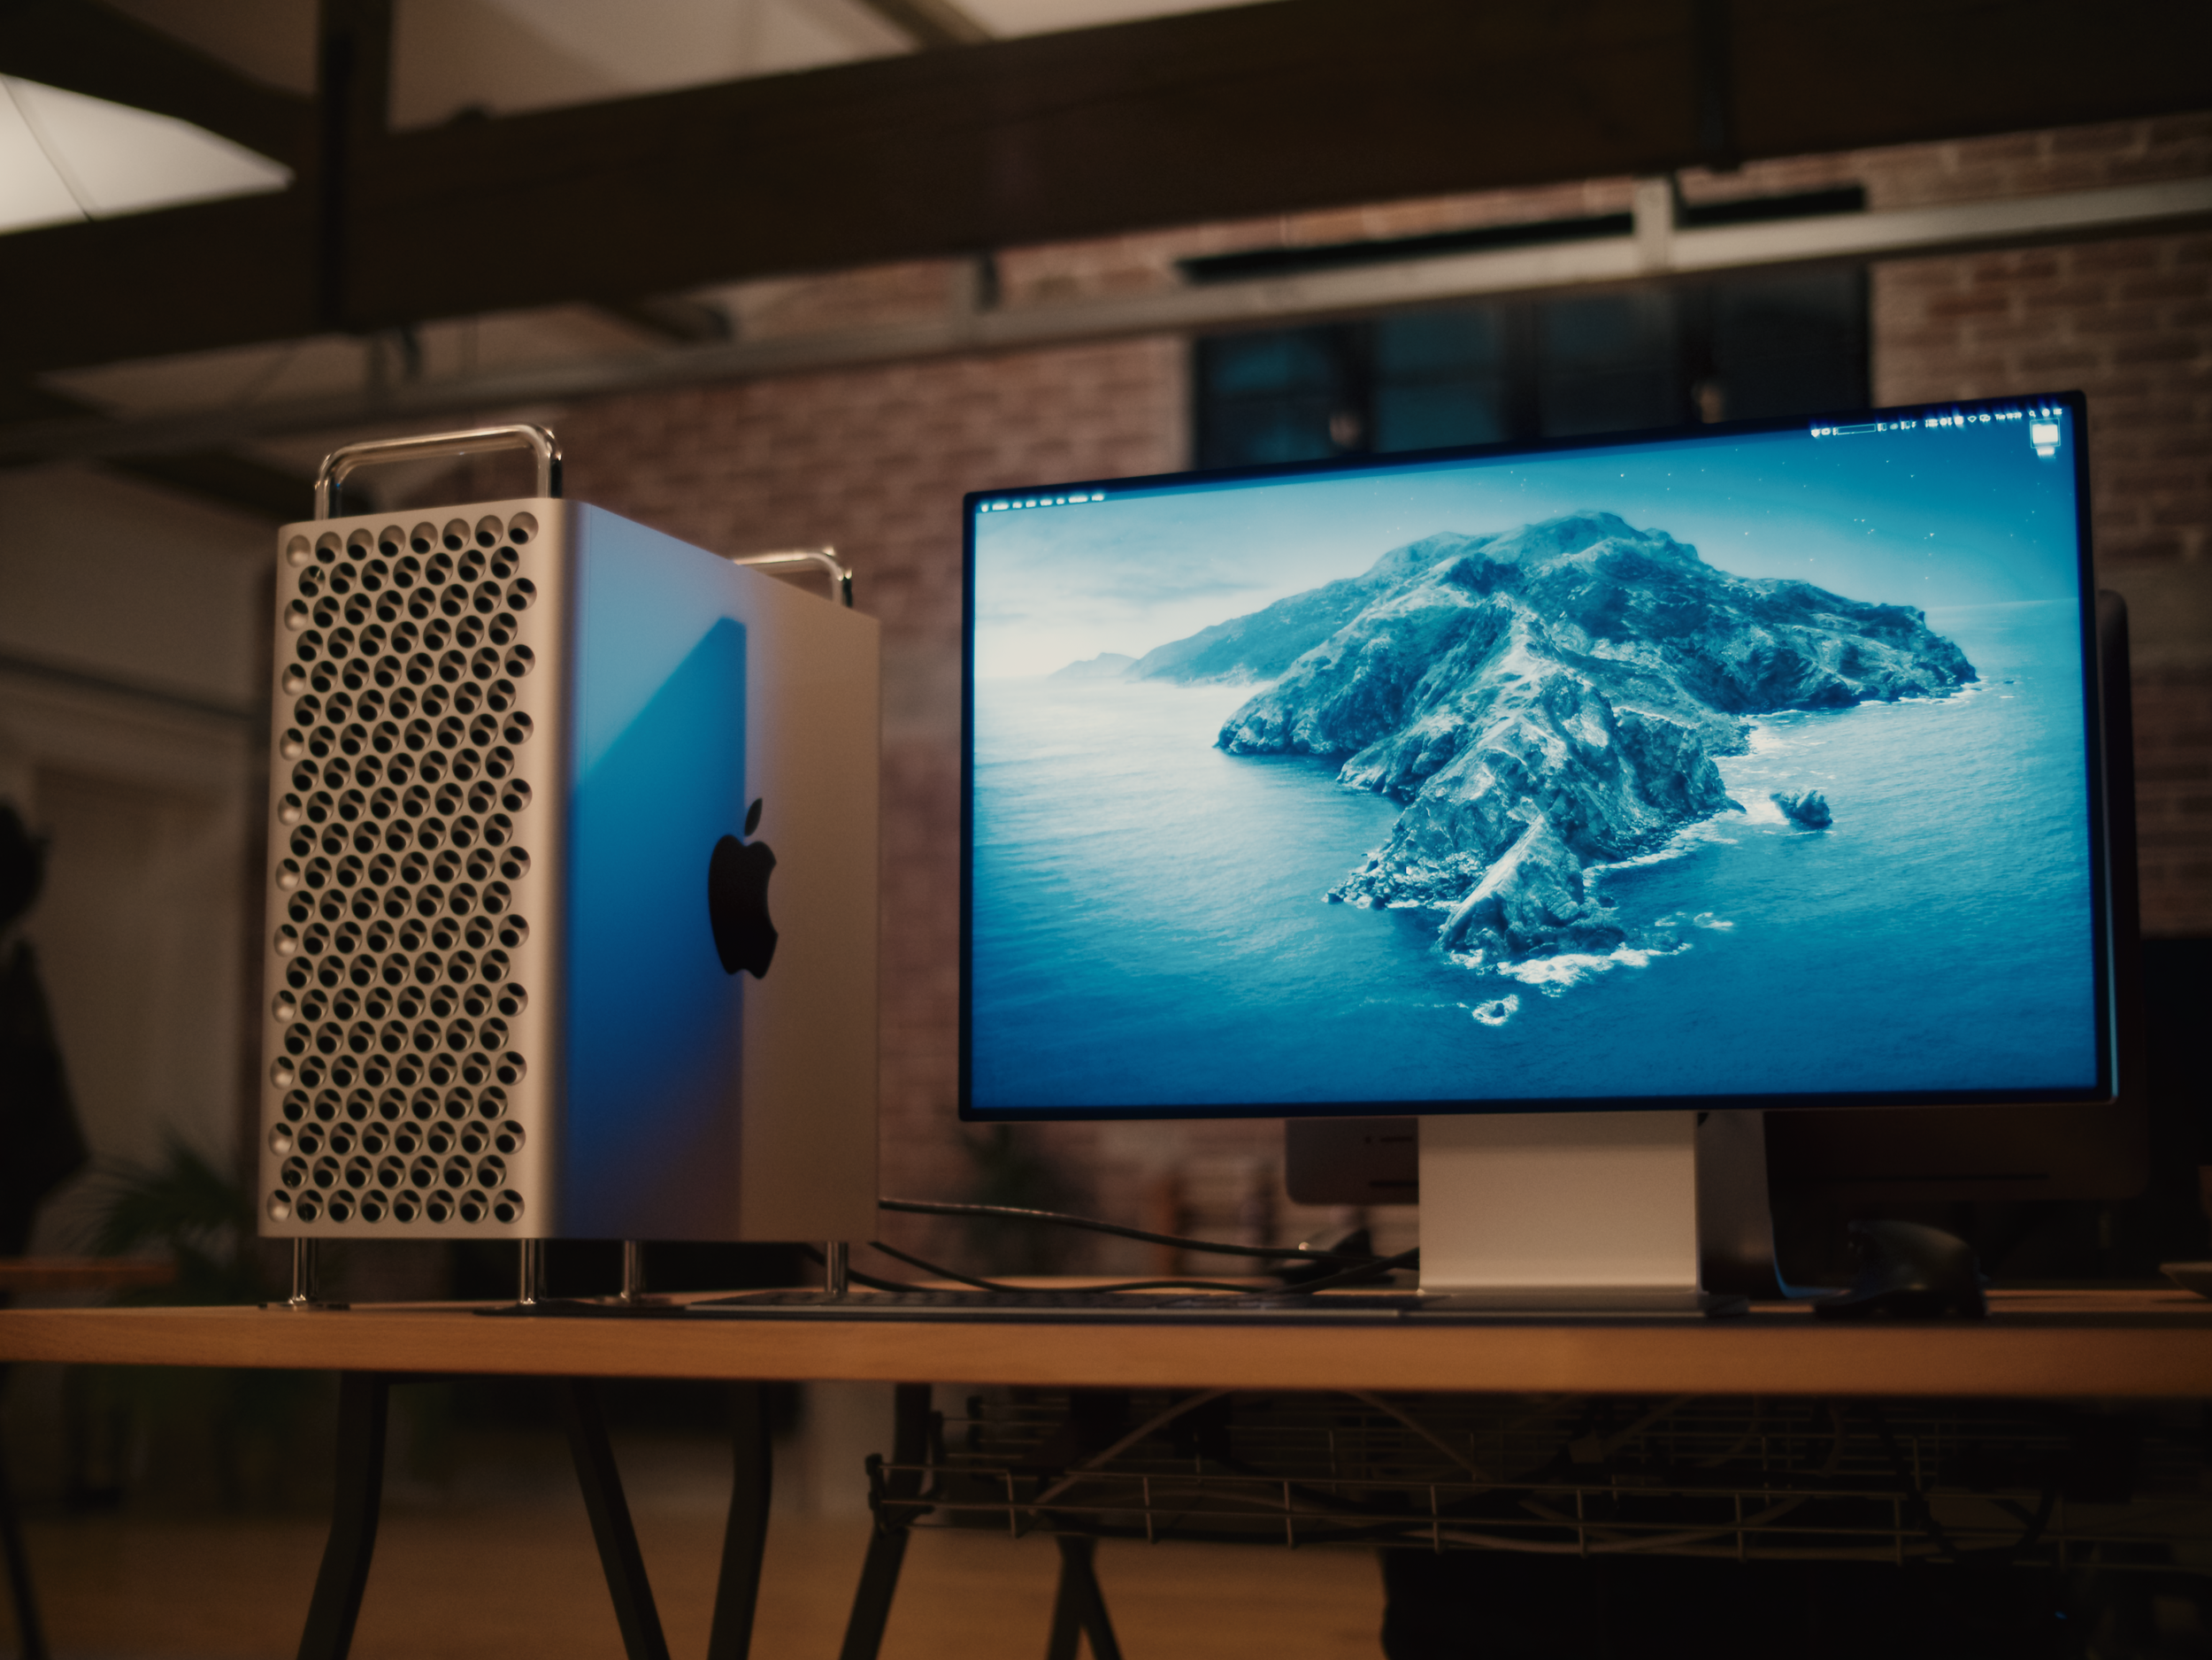
In real life, the new Mac Pro is much more striking than we thought it would be, and you immediately notice the weight of the machine as soon as you try to lift it. Size wise, it’s not as large as you might expect and can comfortably fit on the edge of a desk so that it doesn’t have to sit on the floor. (We have robot hoovers in the office).


WHAT SPECS DID WE GET?
So the Mac Pro we received was a mid-tier model, which makes it great for testing.
We also received the new PRO DISPLAY XDR along with the Pro Stand.

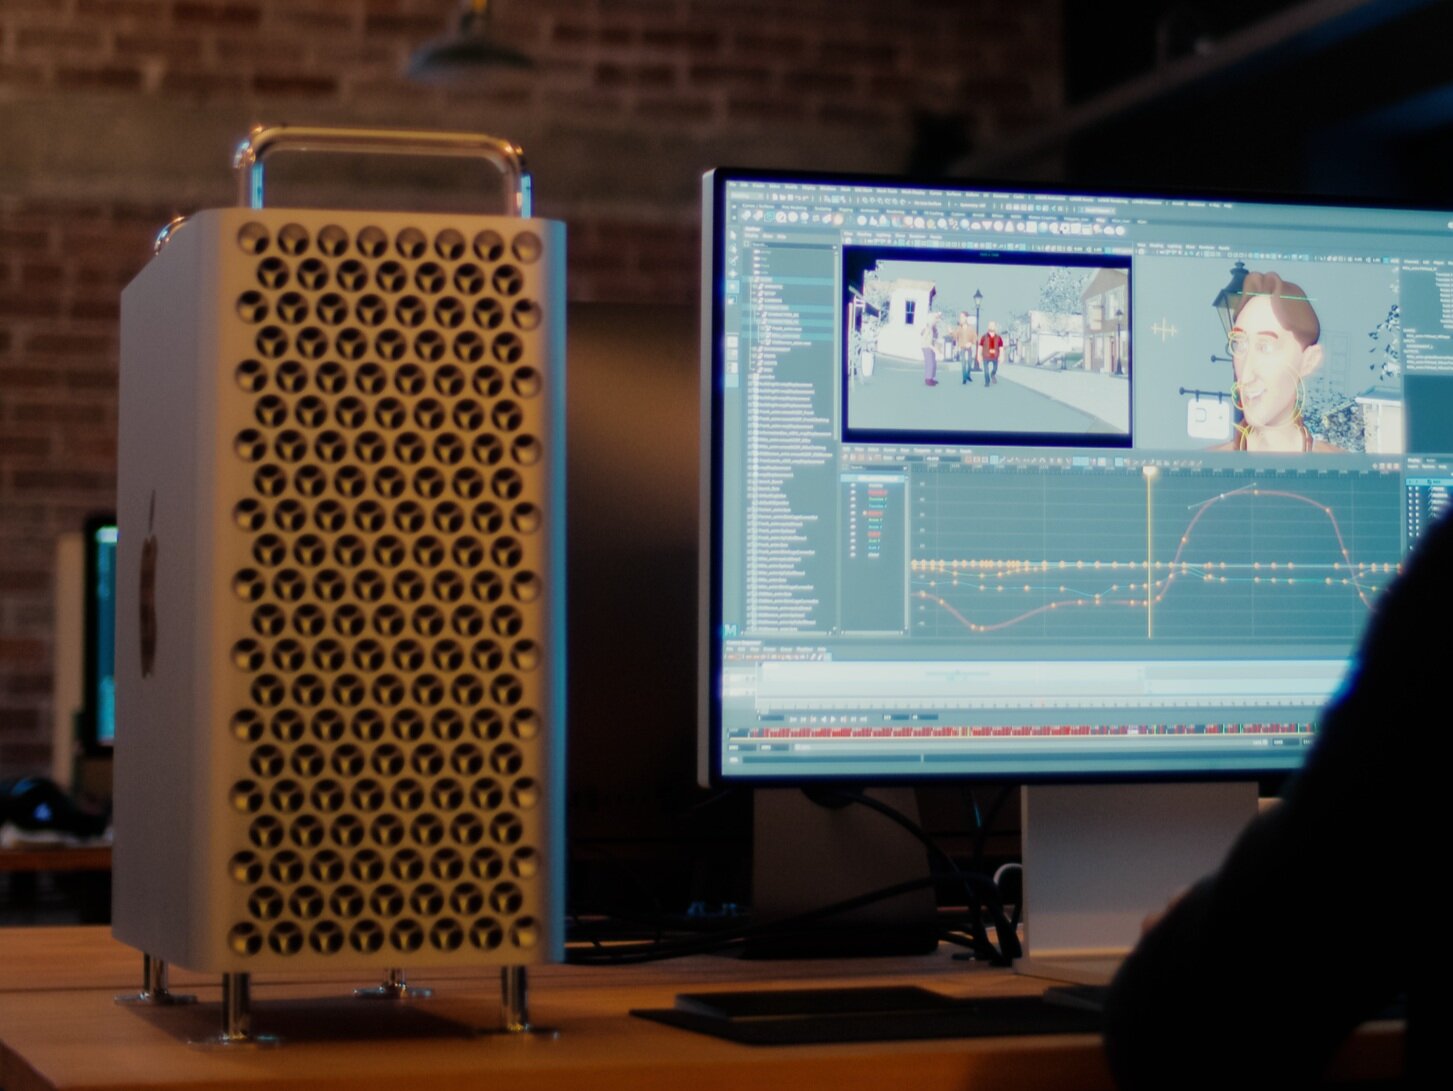
DROPPING the Mac Pro INTO A REAL PROJECT
As soon as we got our new machine set up, we did the obvious tests which involved running Geek Bench along with all the other hardware tests you can get your hands on. Once we’d done that, we looked at how we could use the machine for animation to test a bunch of different aspects and we had the perfect project.
The timing of receiving the machine couldn’t have been better as the studio was just about to begin work on the new Jumanji movie JUMANJI THE NEXT LEVEL. We were tasked by our client ‘Roger’ based in LA to create the ‘Main on Ends’ (MOE) which is essentially the end animated credits for the movie.
THE MAC PRO IN ACTION ON THE JUMANJI PROJECT
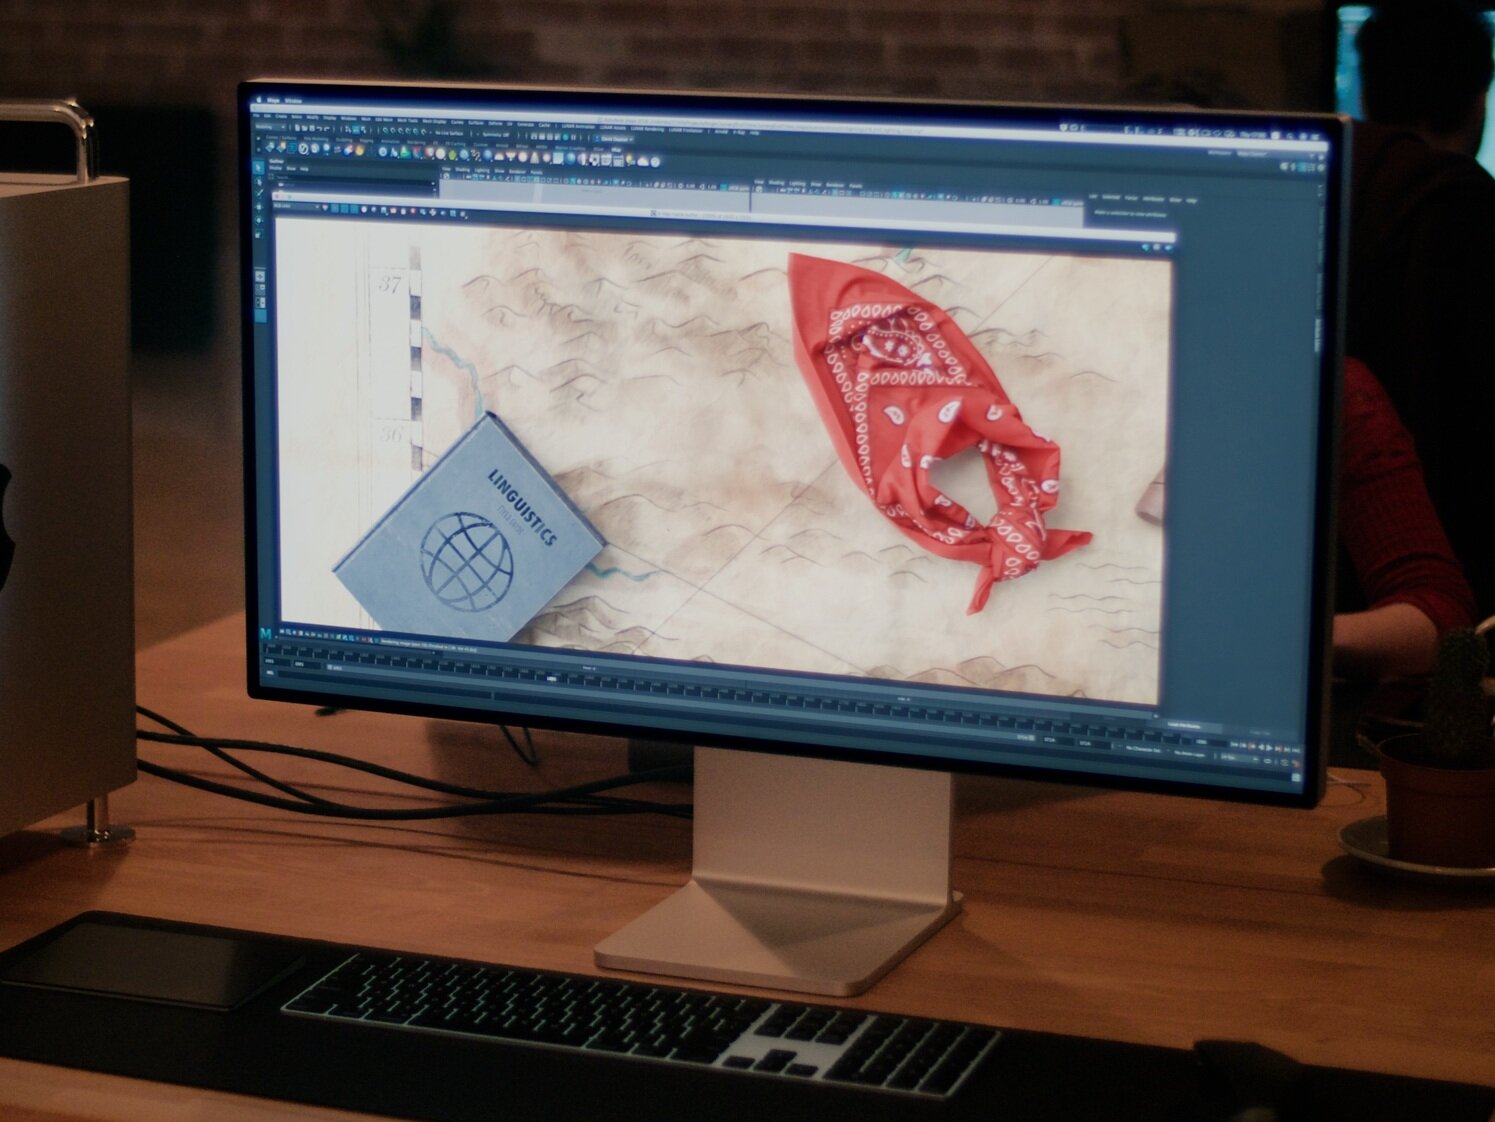
This was a fantastic project and opportunity for us as a studio and involved a number of challenging aspects you can expect from working on a feature.
The project had to be photorealistic and there were 28 unique panels for the credits, with each panel featuring at least one prop related to the movie. This was spread across a two minute sequence.
The project would be done with a single camera move and there were also weather effects to create. All of this had to be done within a timeframe of four weeks. For anyone that’s wondering, four weeks is not a long time…

SO…LET’s SKIP AHEAD FOUR WEEKS…
Not to ruin the ending, but I feel it’s important to show the final result we created for the movie, as this will help when visualising some of the content showing the use and performance of the Mac Pro on the production.


A SINGLE SCENE MAKES THINGS TRICKY
Not only is two minutes a long time, but 28 high resolution photorealistic objects - each with a lot of high resolution textures and geometry - can start to cause issues. One of the immediate things we noticed as soon as we began the animation stage on an iMac Pro, is that we were struggling to get all of the assets into a scene with all of their high resolution texture maps without running out of Graphics RAM.
One constant issue we would run into if working on the iMac Pro is this all too familiar error, illustrated in the video on the right.
Sure enough, we can clamp the resolution of the textures in the scene and the problem goes away. However this is fine for working with the scene, but because clamping the textures is across the entire scene it meant that our 8K Jumanji map became a much lower resolution. This became more of an issue for us when sending the client updates to approve. The only other option would be to render the whole thing out, but we were sending updates daily, so this wasn’t an option.
FOOTAGE CAPTURED FROM ONE OF OUR STUDIO IMAC PRO’s WITH 16GB OF GRAPHICS RAM
THEN WE MOVED ONTO THE MAC PRO
With the texture issues we were encountering on the iMac Pro, we opened the same scene on the Mac Pro and all of the textures loaded up completely fine. This makes sense, as there is double the graphics memory for textures (32GB instead of 16GB). We were then surprised to see that it was playing back in real time without pre-caching, because even with clamped textures on the iMac Pro, we weren’t getting a consistent 24 frames-per-second during playback.
We then unlocked the 24 frames-per-second cap on the playback and got speeds of up to 134 frames-per-second. This allowed us to review, change and preview everything at lightning speed avoiding the need to create proxy textures and models, and we were able to work with the content directly.
We’ve captured this performance below. One thing to also note on this is that all of the content is being loaded over a network with the 10GB Ethernet that the Mac Pro comes with as standard.
RECORDED FROM THE MAC PRO ON THE PRO DISPLAY XDR USING SCREEN FLOW, WE’VE HIGHLIGHTED THE FPS AS THE SOFTWARE WASN’T ALWAYS ABLE TO KEEP UP.
RENDERING ON THE MAC PRO
As we were working on the project, we were keen to look at the rendering potential. Now to put aside the aspect of GPU rendering, which we’re keen to test on the machine as soon as Red Shift running on Metal is released, we could only really look at the CPU potential.
Our standard iMacs are 10-core CPU machines and they’re incredibly fast, but the 16-core CPU in a Mac Pro will obviously run through the process faster. We’ve recorded a video here so you can see the difference, and so you don’t get bored, we’ve sped it up:
So as expected, the Mac Pro is rendering the image in 70% of the time of the iMac Pro, clocking in at just over 26 minutes and the iMac pro coming in at nearly 37. It would have been really interesting to see how the 16-core Mac Pro would fair against the 18-core iMac Pro.
SIMULATING EFFECTS ON THE MAC PRO
The Jumanji project required a realistic steam simulation, and it was to be rendered and composited on top of the coffee up.
You can see how this appeared in the final result:

Again, we were keen to run this on the Mac Pro, as simulations need multiple iterations that involve running and adjusting them time and time again. The faster this can be done, the more quickly you can get the right settings and the final result.
The interesting thing here is that in a recent version of Houdini, you can now use the additional GPU as an accelerator for the simulation. We’ve run a test on an iMac Pro to demonstrate how much faster it was to use the Mac Pro for this part of the production.
Mac Pro (16-core)
5 MINUTES - CPU AND GPU
12 MINUTES - CPU
iMac Pro (10-CORE)
21 MINUTES - CPU
HOW MUCH CAN IT DO ALL AT THE SAME TIME?
As we were working on the Mac Pro, setting off simulations, editing and animating, one thing became clear. It is noticeably better at coping with running multiple applications at one time.
So we took some of these applications and had them do the following:
MAYA - PLAYBACK THE JUMANJI ANIMATION SCENE AT 24FPS.
V-RAY - RENDERING AN IMAGE FROM THE MOVIE IN MAYA
HOUDINI - SIMULATE STEAM
DIVINCHI RESOLVE - PLAYBACK THE FULL PRO RES FILE OF THE END TITLES
PHOTOSHOP - SAVE OUT A 2.4GB PSB FILE OF THE JUMANJI MAP.
We wanted to capture this to demonstrate what it’s like when working with all these applications running at the same time. It’s important to note in this video that as we switch screens it appears as though it drops frames, but I can assure you it doesn’t it and must be the screen flow software we used to record it. We’ve highlighted the frames-per-second on playback of the animation scene so you can see that’s what we’re getting.
RECORDED FROM THE MAC PRO ON THE PRO DISPLAY XDR USING SCREEN FLOW.
The fact that it’s possible to have a simulation running and a scene rendering while being able to review and edit animation, really shows the potential for a professional user. This capacity really blew us away.
THE REAL GAME CHANGER IS THE PRO DISPLAY XDR
When using the new Apple hardware to create the Jumanji project, the Mac Pro helped us to avoid a few technical difficulties and do all aspects faster. But the new Pro Display XDR gave us an ability that we previously didn’t have in the studio.
It provided us with a phenomenally accurate visual representation of the content we were making. It enabled us to deliver something we were truly confident in. It essentially meant that we now had a reference monitor in the studio.
As a smaller studio without £30k to drop on a monitor, it’s allowed us to see exactly what the final deliverable looked like as it was intended to go to the client. As our final deliverables were EXR files, we had the range to see past the maximum brightness of a standard iMac display.
Knowing that our final files were accurate saved us the cost of spending money to rent out a facility to check the files, which in all honesty we didn’t have time to do because of the tight turnaround.
This is now an invaluable tool that we’re going to be using on all projects moving forward.
ROUND UP
So we can safely say that the Mac Pro and Pro Display XDR levelled up (excuse the pun) what we could do within the timeframe we had on the Jumanji project. As a complicated single animation scene, we were able to watch the sequence in real-time with the full resolution assets and their textures. We could quickly make fixes and changes, and save out a play blast to showcase to the client (saving out at 139 frames-per-second). We could run our simulations and render out frames faster. To make this even better, we were able to do all these things at the same time and with the Pro Display XDR, we were able to ensure that our final deliverables were an accurate representation of what we wanted to send to the client.
SO WHAT ARE WE GOING TO DO NEXT?
As we wait for third party software to further integrate Metal and support the new hardware and recent operating system, we’re going to test the character animation performance in Maya and how the machine will effect an animator’s workflow.
